Getting started with QGeodataHub#
Installing#
Note
QGeoDataHub requires Python version 3.6 or above and QGIS version 3.4 or above
QGeoDataHub is available in the GeoDataHub QGIS plugin repository. Add the repository in the plugin manager (Plugins -> Manage and install plugins...). Add the repository: http://plugins.geodatahub.dk/qgis/plugins-releases.xml.
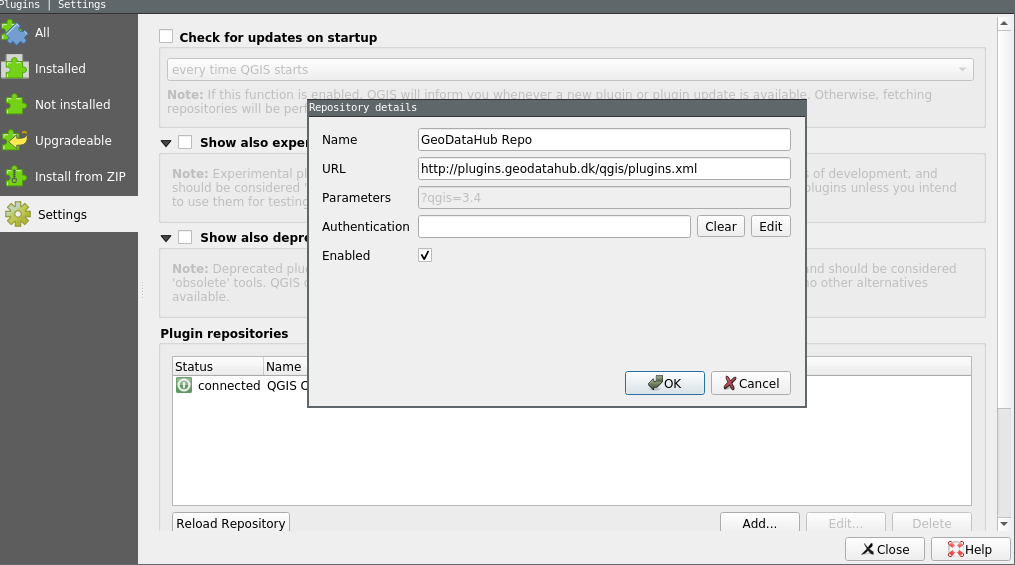
Once added click the Refresh all repositories button to fetch the latest plugins list. Then install the plugin under the All tab.
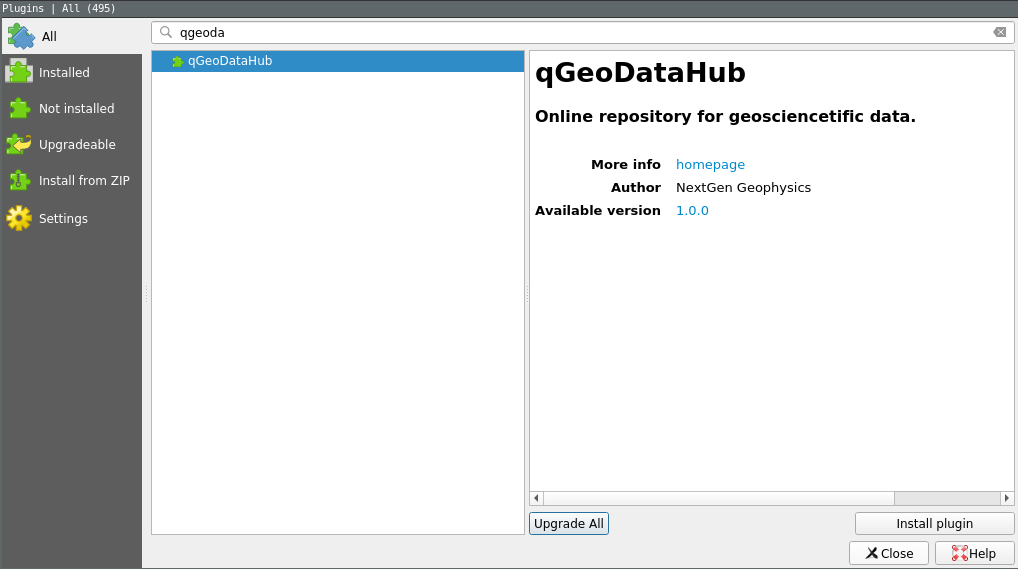
qGeoDataHub is now available from the Plugins menu or directly in the toolbar.
Using the plugin#
Login via QGIS#
If you just installed the plugin you are now asked to login. Follow the instructions in QGIS and visit geodatahub.dk/login <https://www.geodatahub.dk/login>_. Either login with your existing account or create a new.
Searching#
Once logged in the plugin switches to search mode. To understand searching in GeoDataHub we first need to understand what a schema is. All datasets in GeoDataHub are defined by their schema. The schema is split into three components: schema, parameter, and value.

Here the user is searching for boreholes, following the borehole definition by the organization NGG, where the depth is greater than 10.
Searching is a three-step process. First type the organization (ex. NGG), datatype (ex. borehole), or the parameter (ex. depth). The dropdown menu will show all the possible completion options. Then choose an operator (=, >, or <). Finally, type the value to match. If the parameter is categorical (i.e. a project name) the drop-down will show the possible values. If the parameter is not categorical (i.e. a depth between 0 - 100), simply type the number.
Tip
Read our schemas in GeoDataHub documentation for more information
Each query creates one or more new layers dependent upon the query. Each layer contains the datasets for a single schema. All datasets are native QGIS features and support any operations (i.e. custom symbols, filtering using the QGIS filter methods, changing projection, and much more).
All metadata is also embedded directly in the feature allowing users to inspect parameters directly from the Identify results panel.
See the search mode in action.
Adding and modifying data#
Bug
This feature is still experimental. Please use the command line interface for production datasets.
The plugin supports two-way synchronization between QGIS and the cloud. The editing workflow is similar to any normal QGIS layer. Find the correct layer in the Layers panel and Toggle editing by left-clicking the layer. Now, make the required changes (i.e. change the feature geometry or update the metadata). Then disable layer editing and the changes are automatically stored in GeoDataHub.
Bulk changes#
Sometimes, editing of thousands of datasets by hand is simply not an option. Bulk changes are currently not supported from QGIS. Please use the command line interface or our Python library when modifying large amounts of datasets.